Shortest Hike to Jacob Hamblin Arch via “Sneaker Route” in Coyote Gulch
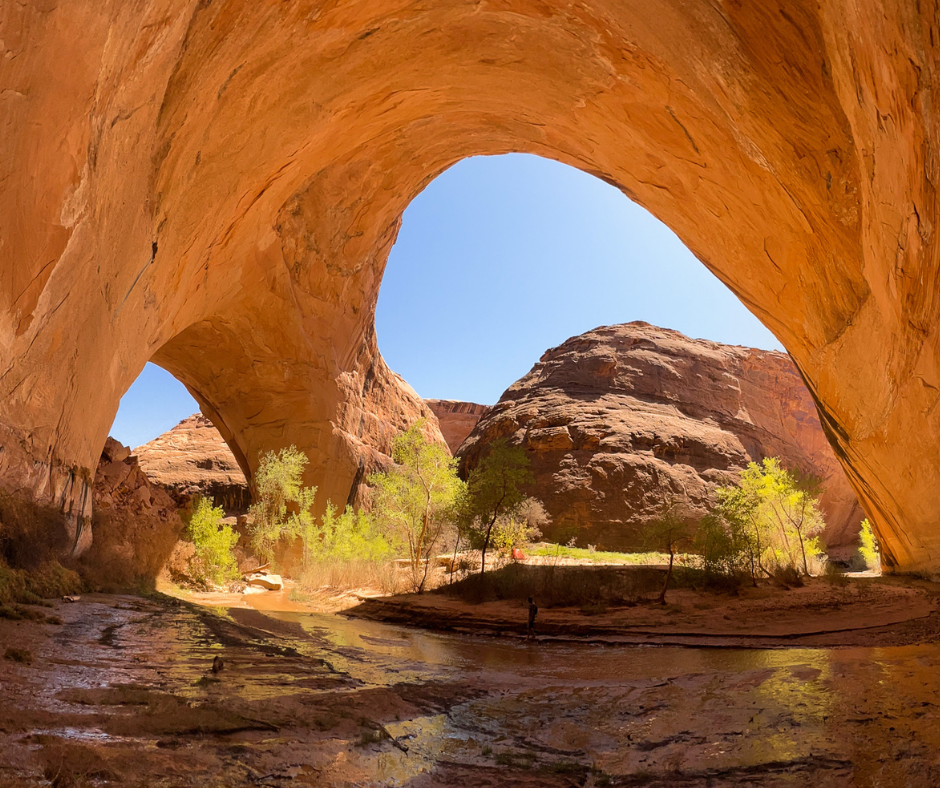
Table of Contents
ToggleEasiest Way to get to Jacob Hamblin Arch aka “Sneaker Route”
I don’t know about you, but I’m always up for a good challenge, and this hike did not disappoint. The star of the show is none other than Jacob Hamblin Arch, a natural wonder located in the Grand Staircase-Escalante National Monument deep within Coyote Gulch.
This arch is an absolute beauty, and it’s a testament to the incredible forces of nature that shaped this land.
The arch is located in southern Utah, and it’s named after Jacob Hamblin, who was a Mormon pioneer and explorer in the late 1800s. Hamblin was known for his friendly relationships with Native American tribes in the area, and he played a significant role in opening up the region to settlement.
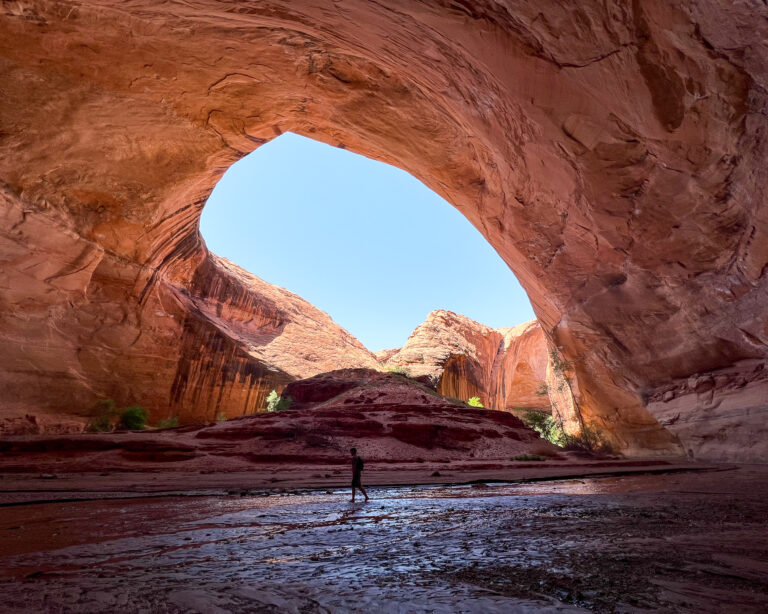
Jacob Hamblin Arch spans about 130 feet and rises over 100 feet high. Made of Navajo sandstone that’s estimated to be over 180 million years old, the arch was formed by the same forces of erosion that created the canyons and rock formations throughout the area.
Despite being concealed beneath the arid surface of the desert, Coyote Gulch boasts of an oasis of flourishing trees, unique rock formations, and diverse wildlife.
In this blog post, I’ll be your personal guide, taking you through every step of the journey and sharing some tips and tricks to make your own hike to Jacob Hamblin Arch just as epic as mine.
Shortest Hike to Jacob Hamblin Arch—Day Hike Details
Route: Jacob Hamblin Arch via Coyote Gulch Water Tank route aka “sneaker route”
Length: 4 miles out and back
Difficulty: Moderate/Hard
Elevation Gain: 400 feet
Total Time: 2.5 to 3.5 hours round trip
Trailhead Location: Coyote Gulch Water Tank Trailhead
Things to Know Before You Go
- No dogs are allowed on this trail.
- Bring your own rope for rappelling down the steep canyon wall
- There is no cell service in the area, so be sure to download trail maps in advance and bring a GPS device.
- The drive on Hole-in-the-Rock Road can be rough, and it’s essential to be prepared for potential vehicle problems since you won’t be able to call for help.
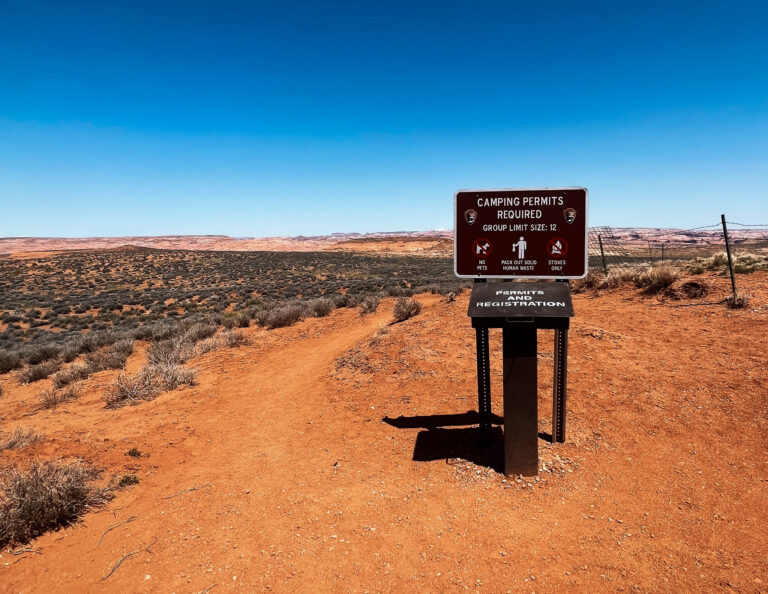
- Day hiking does not require a permit.
- Permits are necessary for overnight stays.
Getting to Jacob Hamblin Arch via Coyote Gulch Trailhead aka “Sneaker Route”
To reach Jacob Hamblin Arch, there are four different trailheads you can start from, each with varying hiking distances. However, if you want the easiest route, the Water Tanks/Coyote Gulch Trailhead, also known as the “Sneaker Route” is your best bet.
It’s located 35 miles down Hole-in-the-Rock Road, an extremely washboarded road that can be quite bumpy, plus 3.5 miles down a spur road. This route is the shortest (only 4 miles roundtrip), but there’s a catch: you have to rappel 100 feet down a steep canyon wall into Coyote Gulch. Don’t worry though, it’s not as scary as it sounds! But if you’re afraid of heights or rappelling, maybe skip this one. Oh, and just a heads up, we went in mid-April and it was starting to get hot, so make sure you bring plenty of water and sunscreen.
To get to the trailhead, take the Hole-in-the-Rock Road off Highway 12, which is about 5 miles east of Escalante, Utah. From there, drive south on Hole-in-the-Rock Road for approximately 35 miles until you reach the Dry Fork turnoff on your left. Turn left and drive another 3.5 miles until you reach the trailhead parking lot. (Roughly a 1.5 to 2 hour drive, depending on your speed).
You don’t need a permit for a day hike to Jacob Hamblin Arch. However, if you plan to camp overnight in the gulch, you will need to obtain a permit.
Day Hike to Jacob Hamblin Arch
The easiest way to get to Jacob Hamblin Arch is by taking the Jacob Hamblin Arch Sneaker Route. However, it’s important to note that no dogs are allowed on this trail, so you’ll have to leave your furry friends behind. The trail length is about 4 miles round trip and is rated as moderate, with some challenging parts that may require a bit of effort.
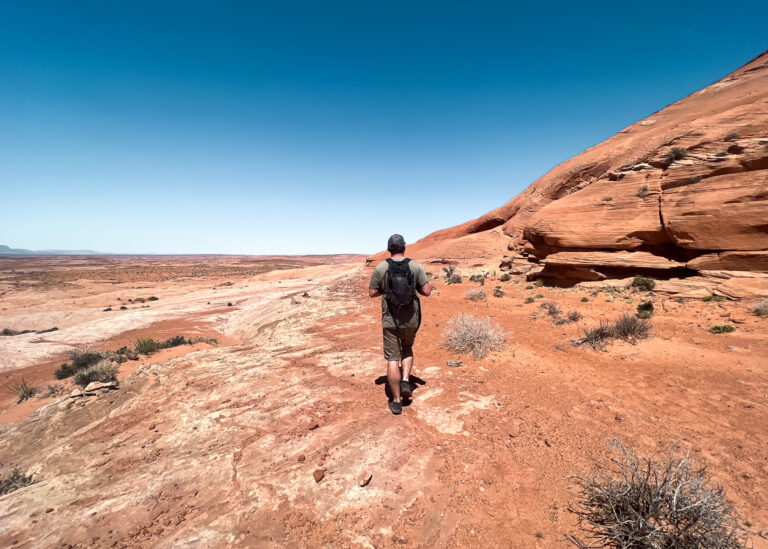
The trail starts with a soft sand section, so make sure to wear shoes that won’t fill up with sand and slow you down. But, after the sandy stretch, the trail becomes easier with a few rocky patches, called Navajo sandstone that makes up the terrain and makes for a more stable surface.
Keep an eye out for the carins (stacked rocks) that will help guide you along the path. You’ll know you’re halfway there when the trail turns all rock, and you can walk across with much more ease.
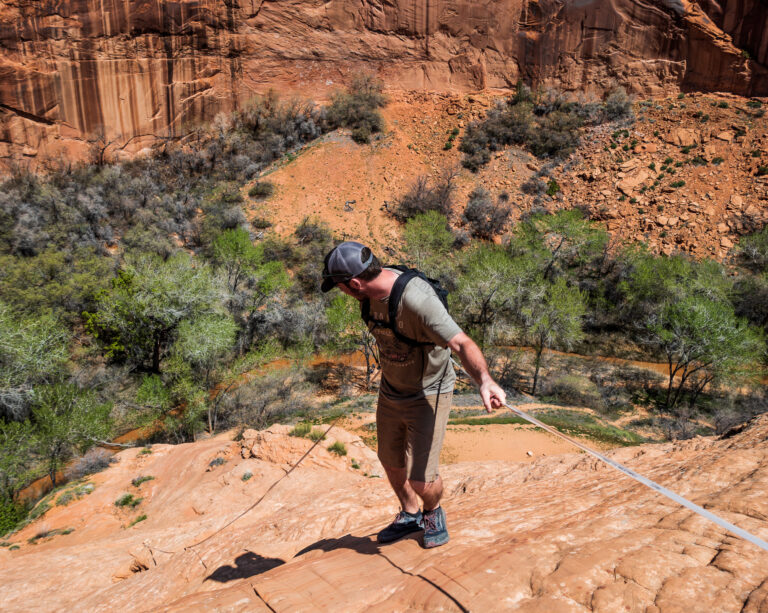
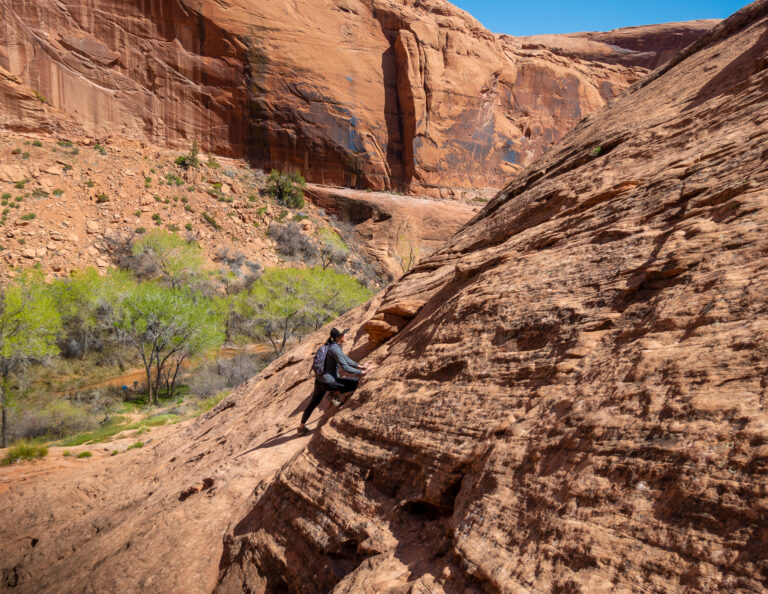
Now, here’s where things get a little more challenging. When the time comes to descend into the gulch, you absolutely must bring a rope. It’s not guaranteed that one will be there, and even if there is, the rangers could remove it at any time.
And let me tell you, it’s way too dangerous to even consider going down without one. This is a VERY steep drop we’re talking about here. Believe me, you do not want to risk sliding down there without a rope.
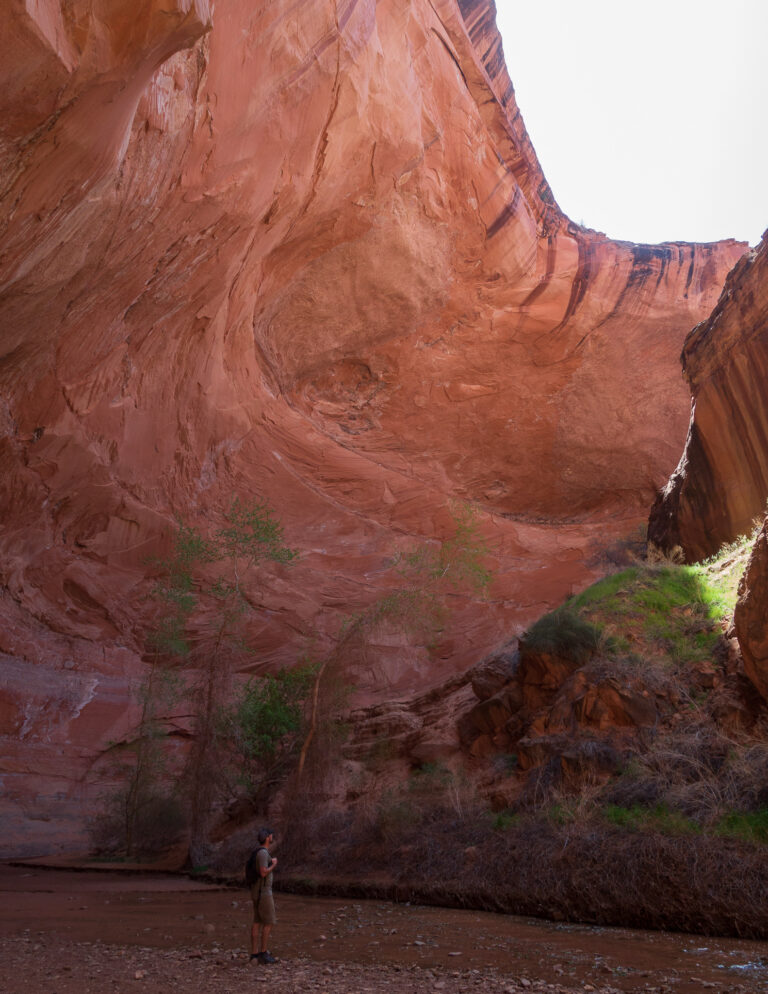
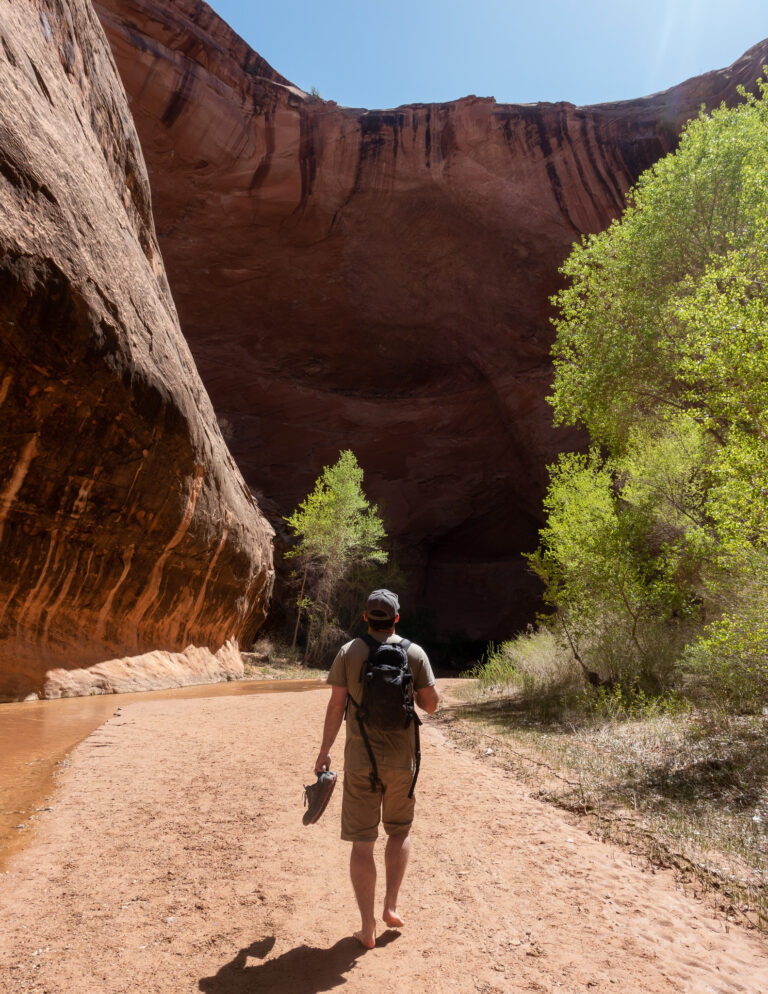
Once you’re in the gulch, it’s time to make your way towards the arch. Head to the left, which happens to be west, and get ready to criss-cross the creek.
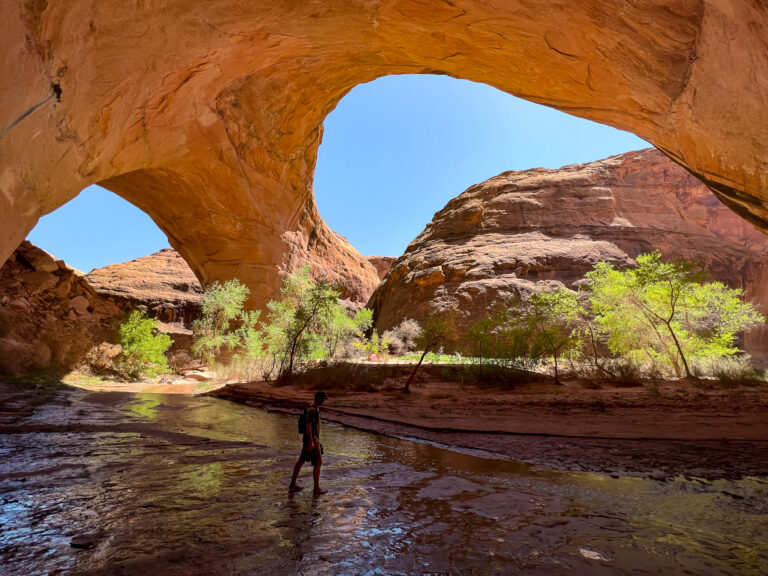
We opted to take off our shoes since they weren’t waterproof, but I have to admit, it felt pretty refreshing to walk in the cool water on a hot day. Plus, the sandy bottom of the creek made it easy to navigate.
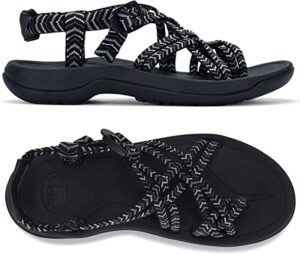
Pro Tip: When hiking through Coyote Gulch, you’ll be crossing the creek multiple times. If you don’t want to risk having wet socks and shoes, consider packing a pair of chacos or water shoes that you can wear while in the Gulch.
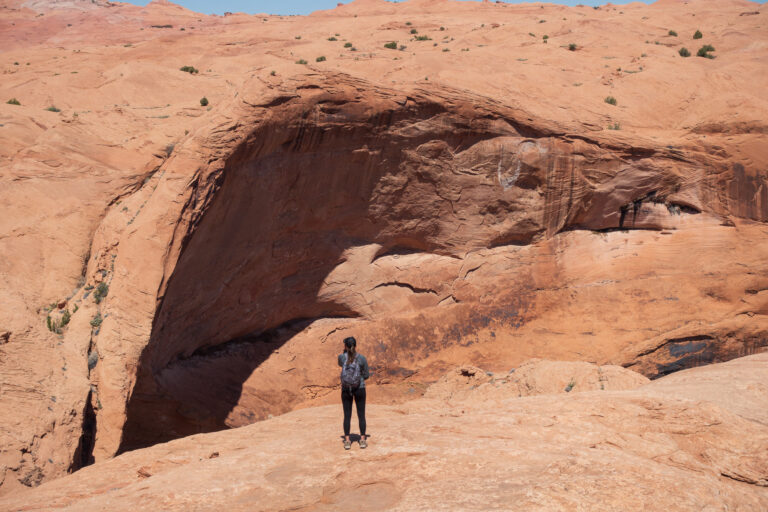
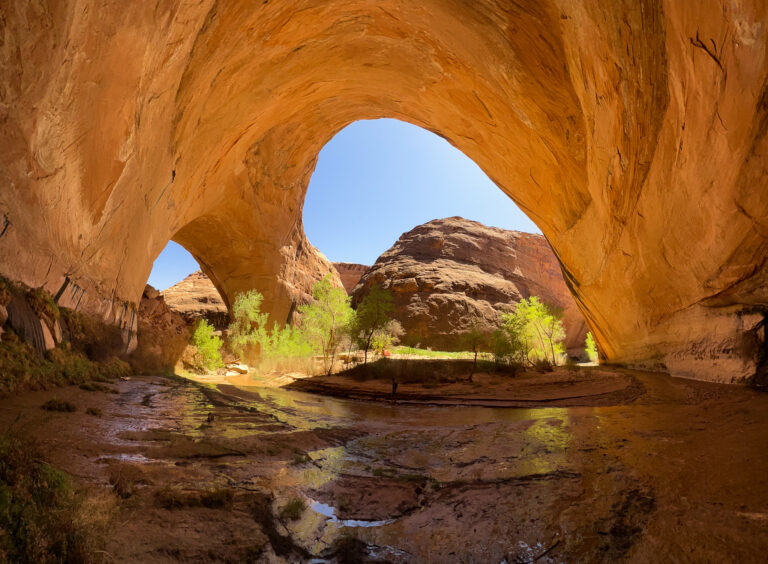
As you can see, the erosion of the gulch has produced a remarkable optical illusion, giving the impression of a double arch. However, it’s actually a single massive arch. The way the gulch twists and turns makes it appear like there are two arches instead of just one massive one. It’s seriously trippy, and you have to see it to believe it!
Consider bringing a camera with a wide-angle lens, as the arch is so massive that it can be difficult to capture its full glory in just one shot.
The Return Hike
The return hike from Jacob Hamblin Arch is the same way you came, so you’ll be retracing your steps. It’s important to note that the hike back to the trailhead can be just as challenging as the hike in, as you’ll be hiking uphill and the sun will likely be beating down on you. Make sure to bring plenty of water and take breaks as needed.
Best Time to Visit Jacob Hamblin Arch
The best time to visit Jacob Hamblin Arch depends on personal preference, but generally, the spring and fall seasons are the most popular times due to the milder temperatures.
We went in the middle of April, and although it wasn’t scorching yet, it was starting to get hot.
Keep in mind that the summer months can be incredibly hot, with temperatures often exceeding 100 degrees Fahrenheit.
Additionally, be aware that flash flooding can occur during the monsoon season from July to September, so plan accordingly and check the weather forecast before heading out.
What to Pack for Day hike to Jacob Hamblin Arch

Camera: You’ll definitely want to remember the epic scenery at Jacob Hamblin Arch. Check out the camera we currently use on all our hikes.
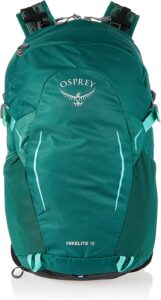
Day pack: A sturdy backpack is essential for carrying all your hiking essentials. Look for one with good back support and plenty of compartments to keep your gear organized.
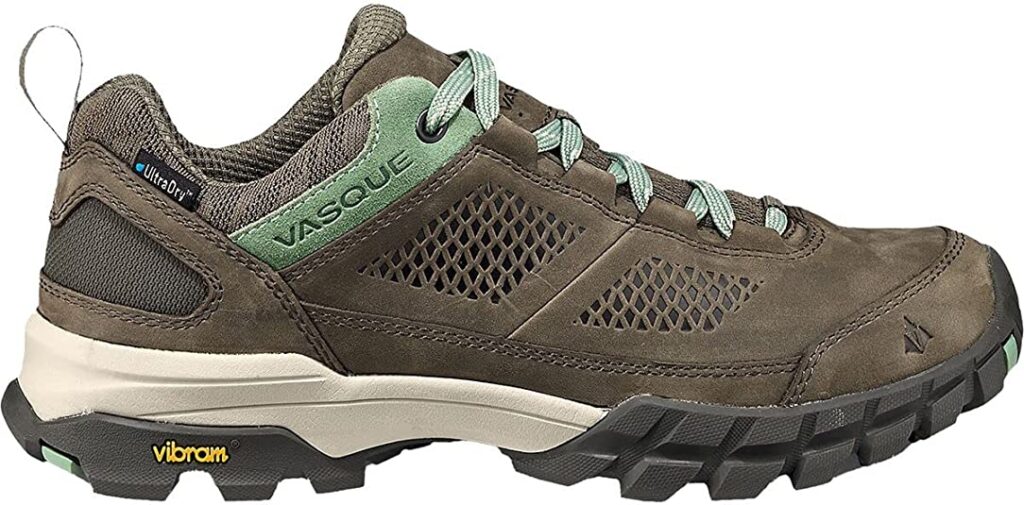
Hiking Shoes: Invest in a good pair of hiking shoes that provide support, traction, and comfort. Look for shoes with a sturdy sole and good arch support.
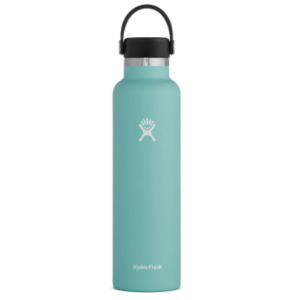
Water Bottle: Stay hydrated on your hike by bringing a reusable water bottle. Aim to drink at least two liters of water per day, especially on warm days.
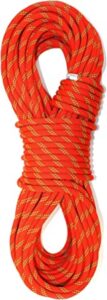
Rope: When rappelling at Jacob Hamblin Arch, you’ll want a thin rope. Make sure the rope is strong enough to support your weight as well as any additional weight from your gear.
Chacos: Chacos are a popular type of hiking sandal that are comfortable and versatile. They provide good traction and can be worn both on the trail and in the water.
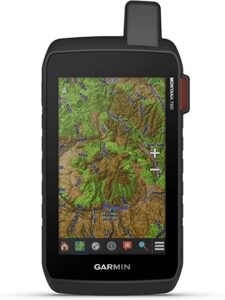
Garmin: Since there may be no signal in the gulch at Jacob Hamblin Arch, a GPS device like a Garmin can be helpful for navigating on the trail. However it’s important not to rely solely on it. Bringing a map and compass as backup is crucial for navigating confidently, especially in areas where there is no signal.
Dispersed camping on Hole-in-the-Rock Road
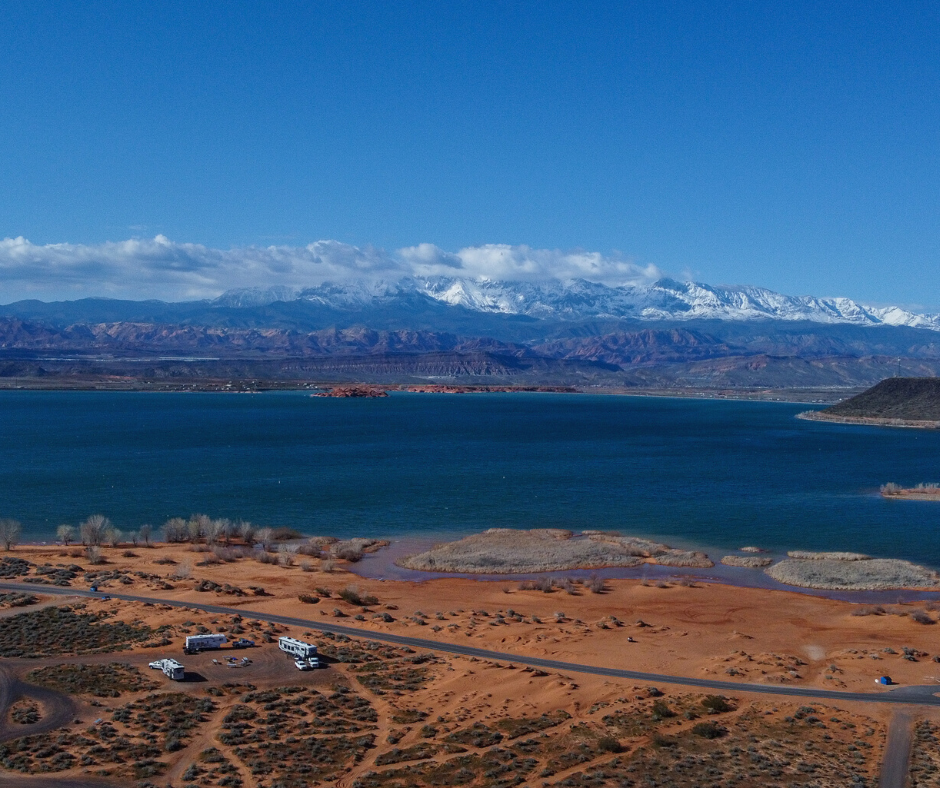
Our campsite was conveniently located just 10 minutes from the town of Escalante and had ample space to accommodate a large RV, like our 28 ft Outdoors RV. We enjoyed the spacious and comfortable camping experience and would be happy to share the GPS coordinates with anyone who may be interested in visiting the area.
A Hiker’s Guide to Jacob Hamiln Arch in Escalante National Monument
If you’re looking for an epic hike with breathtaking views, Jacob Hamblin Arch in Coyote Gulch is the perfect spot for you. Once you reach the arch, you’ll be blown away by its beauty and grandeur.
If you have any questions about the hike or Escalante National Monument in general, feel free to drop us a comment. We’ll do our best to give you the inside scoop and help you plan an unforgettable trip. Happy hiking!

More Utah Guides!


How does one ascend the rappel section when hiking out. Is it a matter of hand over hand or should one have ascenders? Since they’re not mentioned I’m guessing it’s the former and that the rock is not too steep to go hand over hand.
We just went hand over hand! You can attach your rope to the rock and descend into the gulch, then on your way back up you can use your rope to help you back up. If you have shoes with good traction, you may not even need a rope, but it was extremely steep and being someone who is not afraid of heights, I was glad to have a rope.
Excellent guide – thanks for taking the time to share this with us.
Hi.
I did the coyote gulch from crack in the wall trail. I climbed Jacob Hambling arch without a rope. I return in September with some friends and I would like to bring the rope for safety, I would like to know how many meters of rope I have to bring. thank you very much
Hi Carmen! That sounds like an amazing adventure! When it comes to bringing a rope for safety, especially for the ascent or descent of Jacob Hamblin Arch, the length you’ll need could be a 30-meter (approximately 98.4 feet) rope.