Hiking Mt. Storm King in Olympic National Park (Ropes, Difficulty + More!)
Growing up in Washington State, I was always drawn to the coast. Every year, my family would load up in our 1979 Oldsmobile and take a trip up to Neah Bay.
But, believe it or not, we never made it to Olympic National Park before we moved out of State. So, in 2020, when Jake and I traveled up the West Coast, we were set on experiencing an epic hike in the Park.
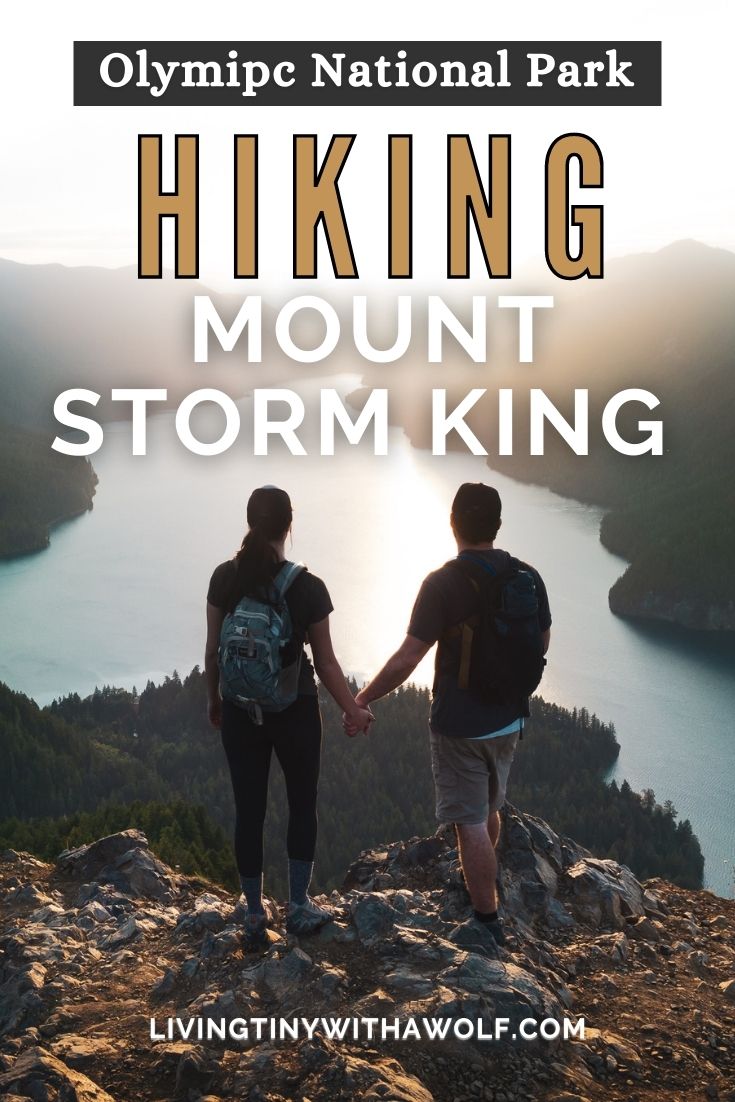
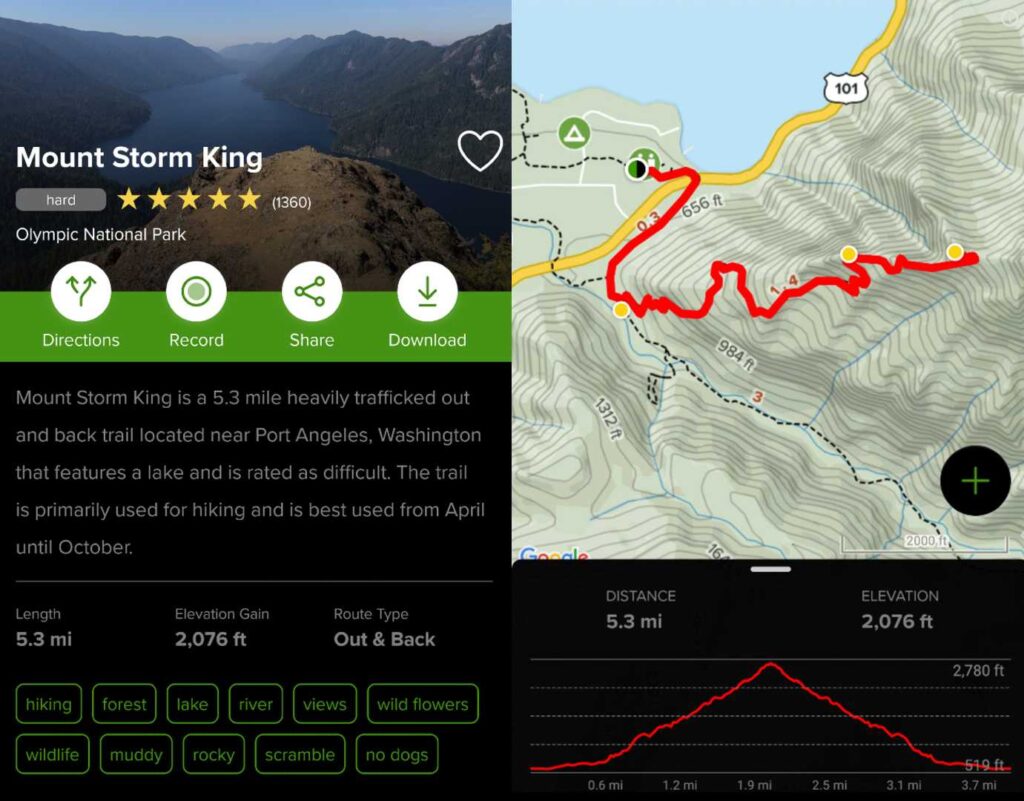
Although Mt. Storm King is a hard, steep hike, taking you over 2,000 ft in just over 2 miles (with a strenuous rope climb) it rewards you with some of the best views in the park, especially of Lake Crescent.
In this guide we’re sharing everything you need to know before hiking the Mount Storm King trail in Olympic National Park, Washington, (with pictures!) including trail stats, cost, what to bring, and more!
Table of Contents
ToggleMt. Storm King Trail Stats
- Distance: 4.65 miles out & back
- Difficulty: Hard
- Elevation Gain: 2100ft
- Trail Traffic: Heavily Trafficked
- Time: 2-3 hrs
- Entrance Fees: Day Pass Required ($30 for 7 day pass) OR Annual Parks Pass
- Dogs Allowed: No
- Directions to Trailhead: All Trails Map
About Olympic National Park
Spanning nearly a million acres, Olympic National Park is a place like no other. It’s home to some of the most gorgeous landscapes in the state, with glacier-capped mountains, ancient temperate rainforests, and over 70 miles of pristine coastline to explore.
Established in 1938, the park is celebrated for its incredible biodiversity, home to thousands of species of plants and animals, some of which are found nowhere else on Earth!
Getting to Mount Storm King
Mount Storm King is located in Olympic National Park, which is in the northwest corner of Washington State, USA. It rises above Lake Crescent’s northern shore, offering hikers breathtaking views of the lake and surrounding forested areas.
The drive from Seattle takes roughly 3 hours, depending on the chosen route. If you’re coming from Seattle, consider the scenic ferry ride across the Puget Sound from Edmonds to Kingston, which might even shave off some driving time.
To get to mount Storm King, you’ll head to Port Angeles, from there, you’ll take US-101 West for about 20 miles.
Keep an eye out for signs for Lake Crescent and Marymere Falls. Turn left onto S Shore Rd and follow S Shore Rd for a short distance until you see signs for the Storm King Ranger Station. Turn left to enter the parking area.
The total drive should take about 27 minutes!
Also, while you’re in Port Angeles, consider exploring the downtown area, the historic harbor, or grabbing a delicious pre-hike meal!
Why Hike Mt. Storm King Trail?
Mount Storm King Trail is one of the most popular hikes in Olympic National Park, and for good reason!
The 4.65-mile trail takes you through an old-growth forest, challenges you with a steep climb, through a ropes section then takes you up about 2,000 feet in elevation. The payoff? Absolutely stunning views of Lake Crescent and the mountains cradling it.
The hike is considered to be difficult, and it is not recommended for inexperienced hikers. The trail is steep and narrow in some places, and there is some exposure at the top. However, we think the views from the summit are worth the effort.
If you are planning to hike Mount Storm King, be sure to be in good physical condition and to wear proper hiking gear. You should also be aware of the weather conditions before you go, as the hike can be super dangerous in icy or wet conditions.
Entrance Fees
Day Pass: A day pass for Olympic National Park costs $30 per vehicle. This pass is valid for one day and grants access to all areas of the park, including Mount Storm King.
However, unlike some parks with entry booths, Olympic National Park uses a self-pay system at the Storm King Ranger Station.
This means you won’t pass a staffed entry point where you can purchase a day pass on the spot. So, I would recommend purchasing your entrance pass in advance and printing it out before you get to the park.
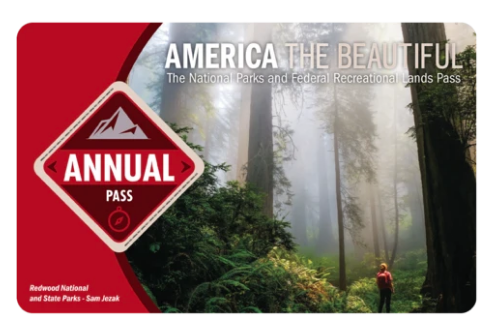
For those who are frequent national park visitors (planning on visiting more than 3 parks in a year!), consider investing in an Annual National Parks Pass. This multi-park pass costs $80 and grants access to Olympic National Park, including Mount Storm King, and hundreds of other federal recreation sites across the country!
If you have the Annual Park Pass, just be sure to display it on your windshield so it’s visible to park rangers.
What to Know Before You Go!
☀️ Be Weather Aware: I wouldn’t recommend attempting Mount Storm King hike when the weather is bad. The Mount Storm King Trail becomes very dangerous when wet or icy.
⛔️ Challenging Trail: This trail features sections that are unmaintained, have steep drop-offs, and require using ropes. Not a fan of heights? This might not be your ideal hike.
🍃 Leave No Trace: Please respect the places you hike to. Always practice Leave No Trace ethics on your adventures. Take your garbage out, don’t leave behind anything – that includes organic waste like fruit peels.
⚠️ Open Year-Round, Kinda: The trail is technically open all year, but snow and ice make it extremely dangerous. Always check current trail conditions before setting off.
🦮 NO Pets Allowed: Unfortunately, dogs aren’t permitted on the Mount Storm King Trail.
Finding the Trailhead
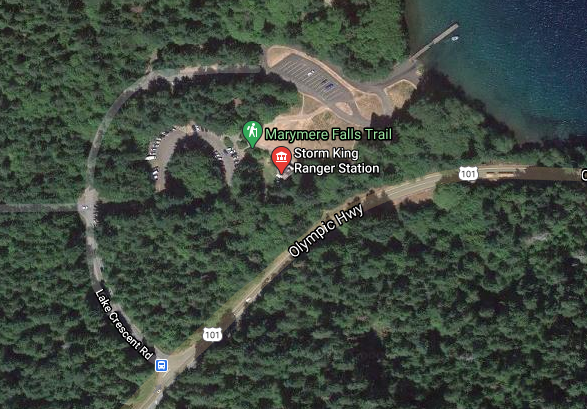
The Mount Storm King trail officially begins at the Storm King Ranger Station. This is where you’ll find the designated parking area, restrooms, and the self-pay station for the Olympic National Park entrance fee.
As you head towards the trailhead from the parking lot, you’ll likely notice signs pointing towards Lake Crescent and Marymere Falls. The Mount Storm King trailhead itself branches off slightly before reaching these destinations.
Marymere Falls Detour (Optional):
If you have some extra time and sunlight, you might like to add a visit to Marymere Falls to your trip. It’s a short and super pretty 1.5-mile round trip hike (there and back) that takes you through a lush old-growth forest filled with moss-covered trees and ferns. Plus, you get to see a cool 90-foot waterfall! We only had enough daylight to hike to Mount Storm King, or we would have included this.
Detailed Mount Storm King Trail Guide
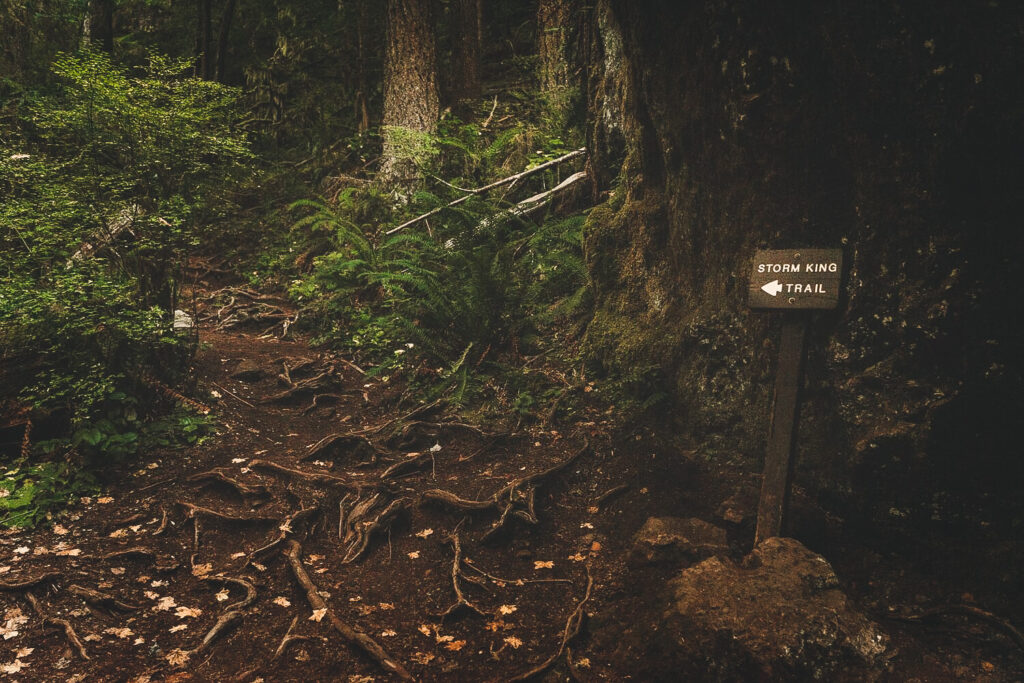
There is not a sign for Mount storm king until later on in the hike, so just follow the signs to Marymere falls. You will walk under the highway through a tunnel and make your way into the forest for about a quarter of a mile.
On your left, you will see a sign that tells you where Mount Storm King Hike begins. Keep in mind that this is a difficult hike, so be prepared for a challenging ascent.
This hike is very steep trail. My thighs were burning almost the whole way. But we took it slow and steady as we gave ourselves enough time to get there before the sunset.
The beginning of the trail switchbacks through the dense forest pine trees. Once you start to see views of the lake, you are more than half way there!
Mt. Storm King Ropes Section
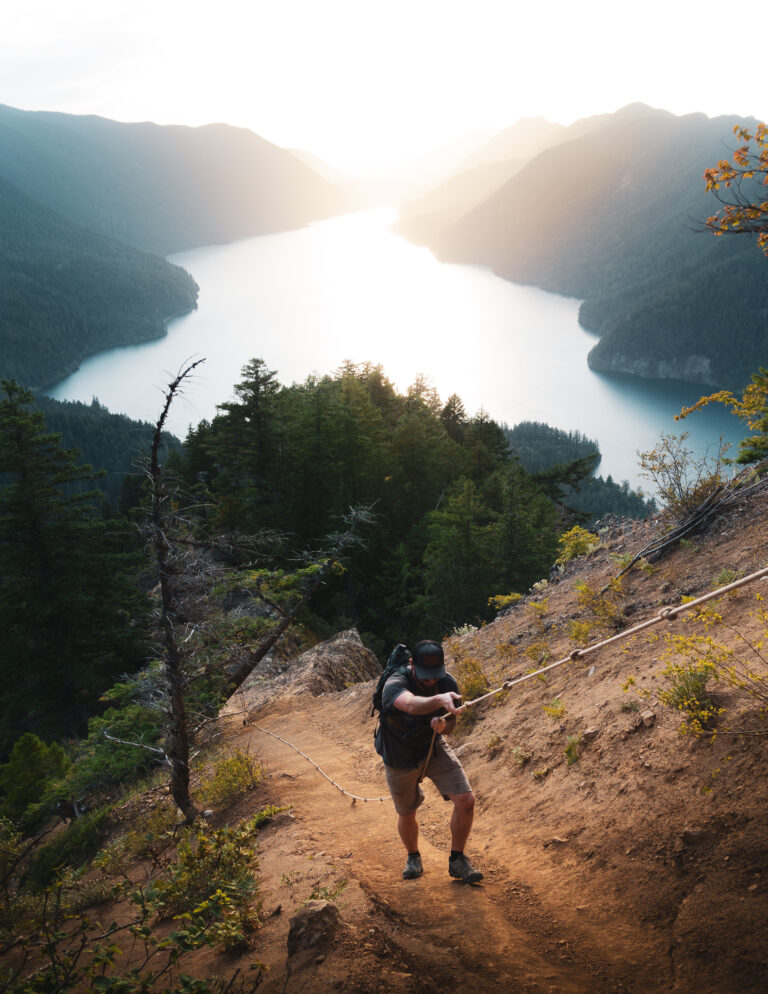
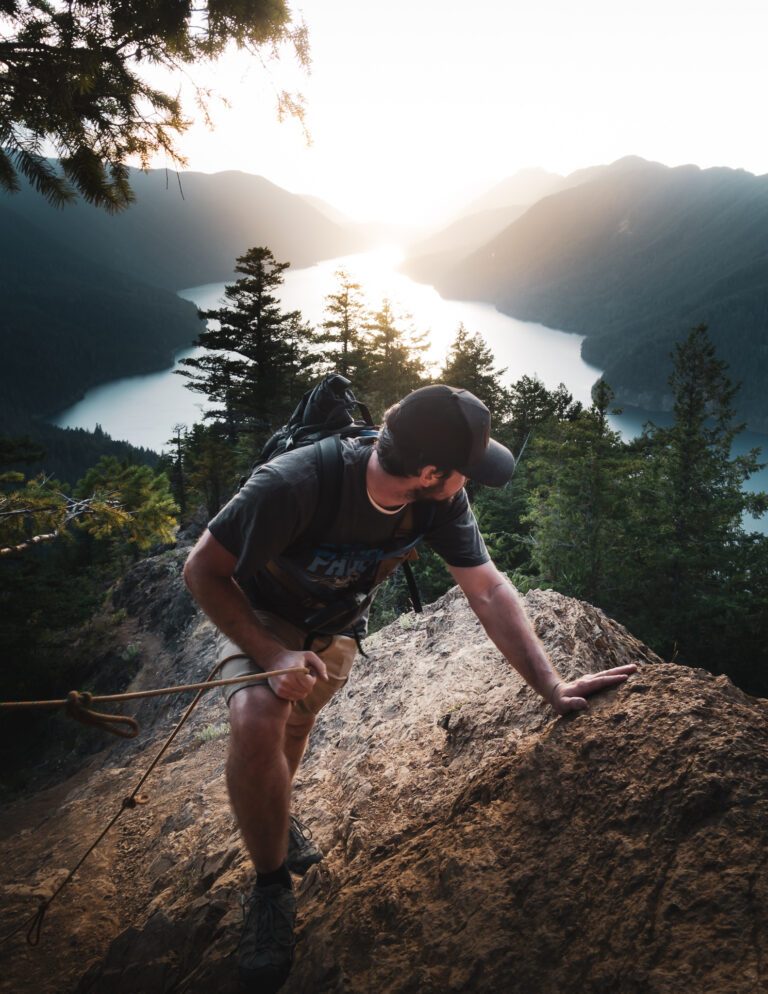
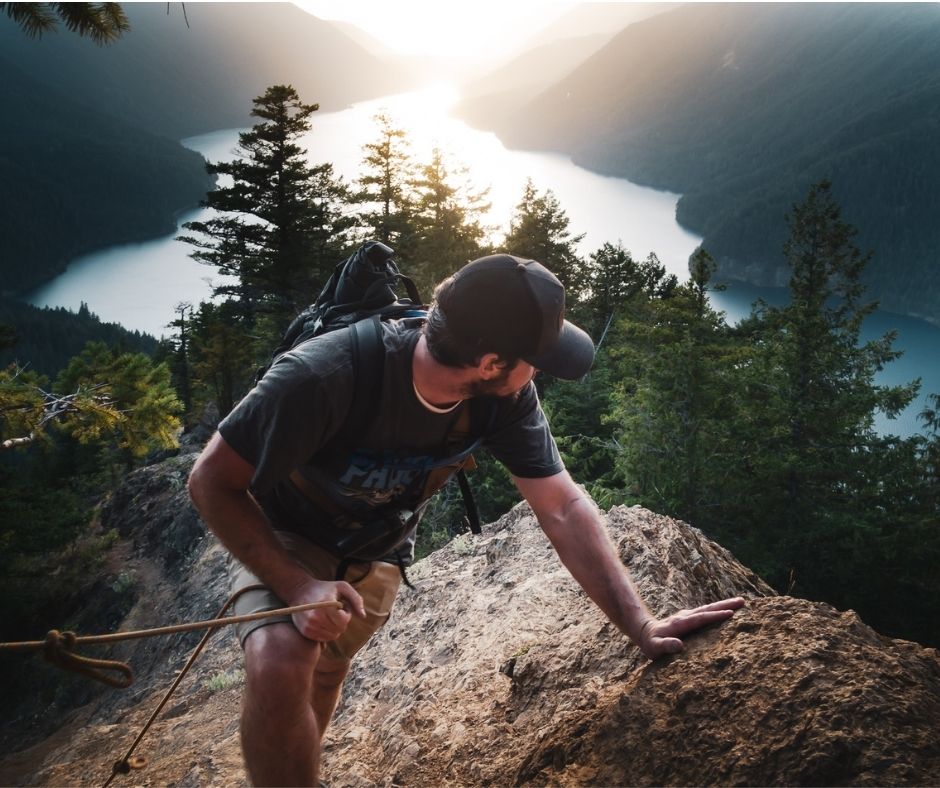
The last portion of the hike is where the maintained trail comes to an end and you will need to use a series of ropes to reach the top. It makes for an interesting hike using the ropes, although kinda sketchy and definitely some slippery conditions in some spots because of the steep climb.
The ropes and rock scramble portion of the hike is what concerns most people and prevents them from doing this hike. There are a total of 6 ropes you will have to use to get to the top of mount storm king.
I would recommend bringing a pair of thin gloves that will allow you to grab onto the ropes without hurting your hands, or possibly giving you rope burn.
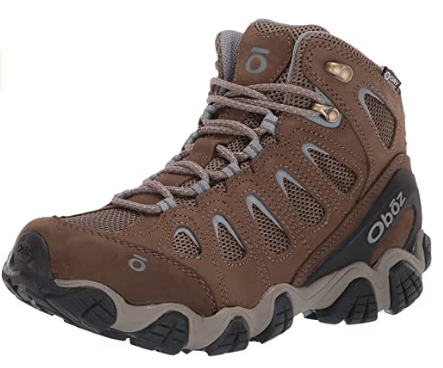
Thanks to my favorite hiking boots, I had plenty of traction going up and down the rope section. We watched a few other hikers turn around right before the ropes because they didn’t have the proper shoes.
If you decide not to go all the way up, there are still stunning views of Crescent Lake at the beginning of the rope climb.
Reaching Mt. Storm King Summit
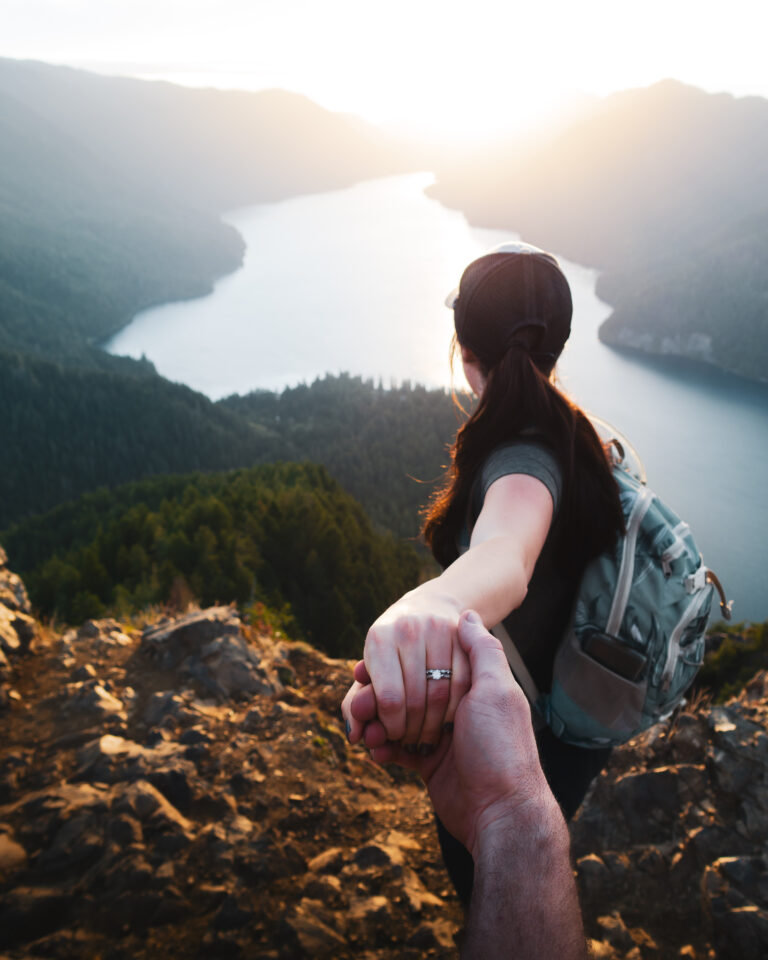
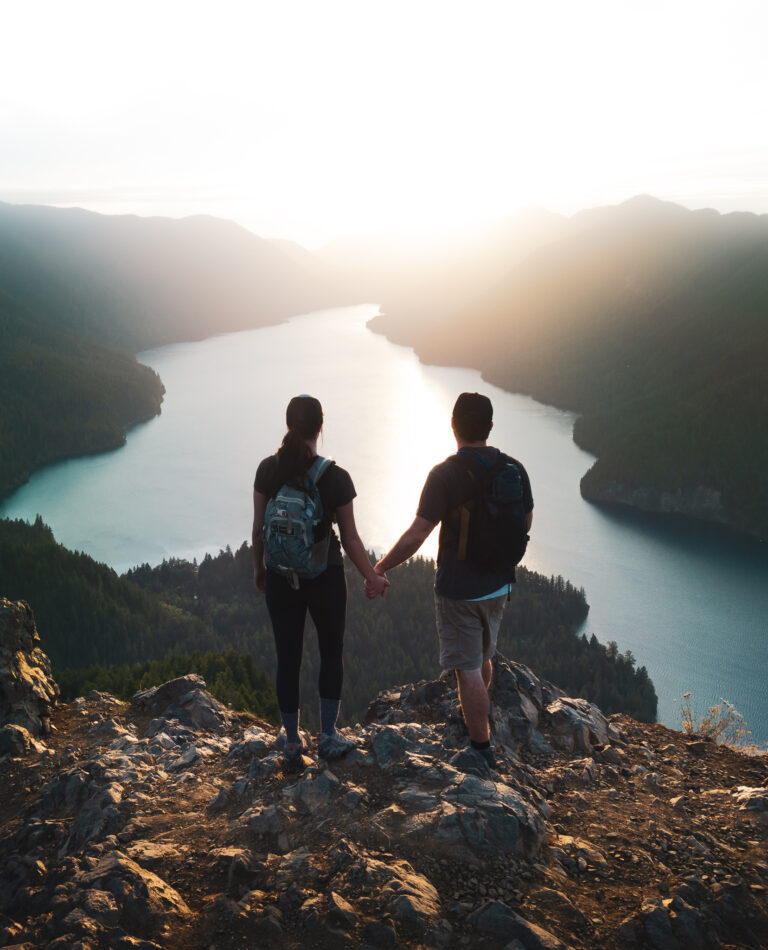
Once you make it to the top, the difficult incline is worth it because the view is breathtaking. We lucked out and had a beautiful sunset view over Crescent Lake.
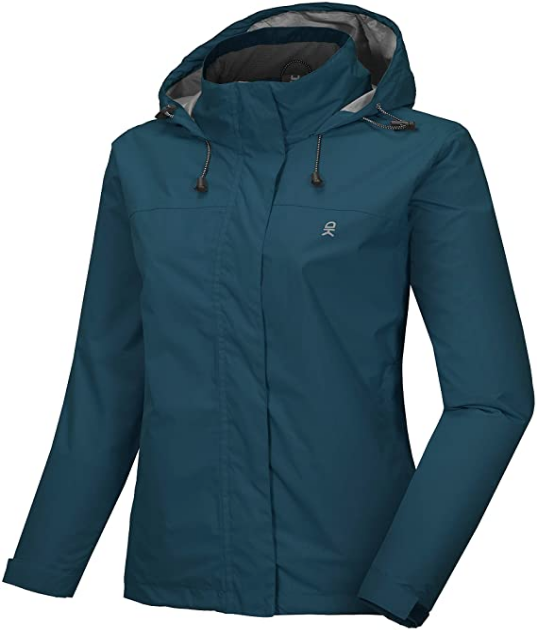
Make sure you bring a windbreaker on this hike. When you reach the top you are completely exposed and it can get windy up there. Plus when the sun goes down, the temps drop real quick.
We stayed at the top for a while, enjoyed the expansive views, took pictures, had conversations with the other hikers at the top, and watched the sunset behind the Olympic Mountains.
Making The Decent
Take the ropes down nice and slow. Be sure to hang on tight and make sure you have good traction under your feet with each step you take. We found it easier to go down backward through the rope section.
We were pleased to discover that the descent was quick after you get down past the ropes.
If you decide to hike this trail at sunset, like we did, be sure to pack a headlamp or flashlight, as you will be hiking down in the dark.
How Long is Mount Storm King Hike?
Hiking Mount Storm King takes roughly 3 hours to complete. If you are in good shape, it could take you 2-2.5 hours. We had to stop and catch our breath quite a few times, plus stop and take pictures. So, if you are looking to do this hike, allocate 4 hours, especially if you want to check out lake Crescent or include Marymere falls trail as well.
What to Bring on your Hike
Be prepared on your hike up Mt. Storm King. Having the right gear can make a huge difference in whether or not you will have a good experience in Olympic National Park.
- Hiking Boots: Bring a pair of comfortable hiking boots. I wear my Oboz on all of my hikes.
- Rain Jacket: The weather can change drastically in just a few hours. Make sure to pack a rain jacket.
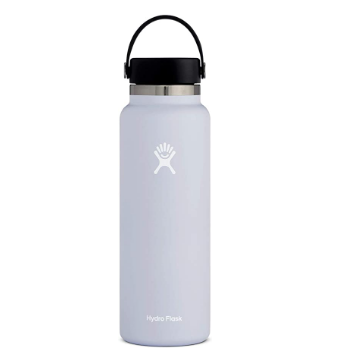
- Water Bottle: Pack a water bottle or Nalgene. You will want to make sure you stay hydrated to avoid altitude sickness.
- Sunscreen + Bug Spray: You will want to bring sunscreen so you don’t burn. Some hikes can expose you to more sun than you think! Pack bug spray to keep mosquitos at bay.
- First Aid Kit:Always carry first aid emergency supplies. You never know when you could slip and fall and need to mend a cut!
- Camera:You’ll definitely want to remember Mount Storm Kings epic scenery. Check out the camera we currently use on all our hikes.
- Snacks: Bring along an apple or cliff bars to refuel. When hiking where you gain elevation, you will burn a lot of calories and need energy to get back down the trail.
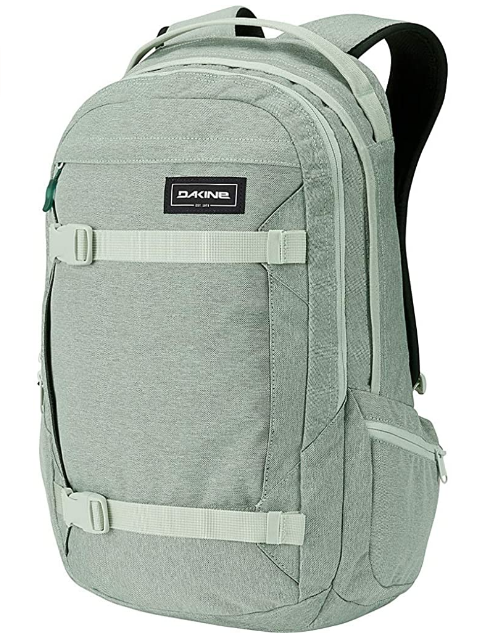
- Backpack:Make sure you have a backpack to carry everything on this list!
For a more detailed list of what gear to have in your backpack, check out our post about What to Pack for a Day Hike or our Hiking Safety Guide for Beginners.
Who Should NOT Hike Mt Storm King Mountain?
If you are looking for hikes near lake Crescent, be mindful that storm king mountain hike has an elevation gain of 2,000 ft in about 2 miles, so it is very steep. I would not recommend this hike for kids or for anyone who is afraid of heights. Remember, if it makes you uncomfortable to go up, be mindful that you WILL have to go back down.
Best Time to Hike Mount Storm King
Late Spring – Summer (May to July): Enjoy sunshine, warmish weather, and vibrant wildflowers with manageable crowds. Plus, you might even see some beautiful wildflowers in the summer. Just be aware that early spring might still have some lingering snow in higher areas, so pack accordingly.
Early Fall (September and October): Fall is a gorgeous time on Mount Storm King. The leaves turn vibrant shades of red, orange, and yellow! Temperatures are still comfortable, making for enjoyable hiking conditions. Just keep in mind that fall is popular, so expect some company on the trail.
Skip the rainy season (November to April): This time of year brings lots of rain and snow, making the trail slippery and dangerous. It’s best to wait for drier weather so you can enjoy the hike without any worries.
Overall, the prime hiking season for Mount Storm King falls between May and October. During these months, you’ll generally encounter drier trails, comfortable temperatures, and clear skies for those breathtaking views.
Camping Near Mount Storm King
There are a few campgrounds dispersed throughout Olympic National Park. The easiest way to find Campgrounds and Free dispersed RV boondocking locations will be online. We use a website called Campendium.com the website provides locations to free and paid RV campsites.
Fairhome Campground: This is the campground closest to Lake Crescent and Mount Storm King hike. Located conveniently on the west side of the Lake. However, this is a first-come, first-serve campground and is $20 per night.
Klahowya Campground: This campground is located west down hwy 101. Nightly rates for a campsite is $17 and $5 for extra vehicles.
Dispersed Camping Down Forest RD 29: We decided to dry camp. And found a nice spot down Forest RD 29.
Pro Tip: Arrive during the daytime so you can inspect the area. Since you won’t be camping in a marked parking space, you will need to visually inspect the area to find the best spot for your RV.
Final Thoughts On Storm King Hike Olympic National Park
Mt Storm King in Olympic National Park is by far one of my favorites hikes in Washington. I am a sucker for a good view and love a challenge. This hike will make you sweat and question your hiking abilities, but I promise, when you make it to the top, it will all be worth it.
Have you ever Hiked to Mount Storm King? Did you think it was hard? We would love to hear about your experience in the comments below!

